One of the most important parts of your home's HVAC system is its thermostat. It helps to monitor your indoor temperature and tells your heating or cooling system when to turn on to alter the ambient temperature. Occasionally, you may need to change your thermostat's batteries to keep it operating effectively.
Understanding Your Thermostat
There are a few different types of thermostats that you can invest in for your home. Manual thermostats are the oldest and have a round dial that spins to adjust your temperature setting. Another option is the programmable thermostat that comes in 7-day, 5-2, and 5-1-1 styles. These thermostats can have Wi-Fi capability and allow you to program in different temperatures for different times of the day.
Lastly, we have a smart thermostat. This comes with all the great features of a typical programmable thermostat. However, it offers many extra features like learning technology, maintenance reminders, and system usage monitoring. Almost all thermostats will have internal batteries that are responsible for powering the thermostat.
Signs of a Low Battery in Your Thermostat
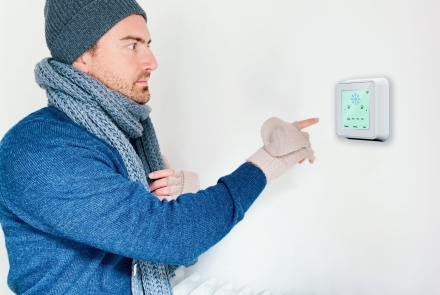
When your thermostat's internal batteries start to get low, it can affect your system's functioning. The most obvious effect will be that the display screen will appear lighter, and its text will be harder to read. Furthermore, low batteries can cause some of your thermostat settings to be lost and can even cause the inability to control your heating or cooling system.
In most cases, your thermostat will have a battery indicator light. This light will blink, typically red, when your thermostat's batteries are low. Some will have a display on their screen that states 'Low Battery'. Newer smart thermostats can even send a message to your smartphone alerting you of low batteries that need to be changed soon.
Step-by-Step Guide on Changing a Thermostat Battery
You may be a bit hesitant about changing the batteries in your thermostat. It's important to note that most thermostats are very low-voltage, so they won't shock you in the rare case that you touch any of its wiring. Referring to your thermostat's owner's manual can help you discover the exact process for changing its batteries.
Most thermostats will either have their batteries on their backside or a built-in battery compartment that separates independently from the thermostat housing. If your batteries are in the back, you'll need to remove the thermostat from its bracket.
Typically, the thermostat housing is attached via compression fit. Popping the housing off and flipping it over will reveal the batteries. If your thermostat has a special battery compartment, you can simply pop out that compartment instead of removing the thermostat's housing.
Testing the New Battery
Once you install your new batteries, it's time to return your thermostat to its normal position. This means attaching the housing back to the wall or reinstalling the battery compartment. Your thermostat should kick back on and the low battery light should go away.
Keeping your thermostat in good working condition requires regularly changing its internal batteries. In most cases, it's best to change your thermostat's batteries in the spring and fall before the worst temperature extremes hit. If you need additional assistance with your thermostat maintenance, then be sure to call the professionals at Robert Bair today for expert assistance.